Just a short post on the sheath making process and some pics of the finished product. The sheath like the previous iteration is made from vegetable tanned leather, and was also made to accommodate the blade in more than one orientation to avoid accidental sheath damage. I also attempted to make the welt for the knife somewhat thinner than the other city knife, since the overbuilt welt made the sheath somewhat bulky for the size of the knife. Since the welt was thinner however, I felt that it wouldn't hold up to use as long, I applied some full concentration acrylic resolene to try to toughen up the inner surface. Thus far that treatment held up well for the axe sheath I made a few months ago, so hopefully it'll be more than enough for a simple light duty knife!
 |
| Punching the holes with a stitching chisel to set spacing for drilling with the drill press. |
 |
| Adding my makers mark to the back of the sheath. |
 |
| All the components drilled and prepared for gluing and stitching! |
 |
| The welt was left oversize to minimize was from final edge finishing and getting all the layers flush with one another - easier to cut away than to add! |
 |
| Saddle stitching - 1 out of 135 to go |
 |
| All stitched up and ready for final surface finishing - I applied both paraffin/ beeswax along with the neatsfoot oil/ resin/ wax mixture from my previous post on axe refurbishing. The saddle tan gel antique dye in the leather seems to darken significantly after all the finishing and should be taken into account if you want something lighter! |
 |
| Burnished edge - the edges of the sheath were lightly chamfered using an edge beveller, after which chocolate brown leather dye was applied and run over with my home made dogwood burnishing tool. Nothing too special with the process there - wax it lightly or just dampen with water and rub it back and forth until it's the desired shape and the layers are well blended, then seal with the wax finishes. |
And now the glamour shots:
 |
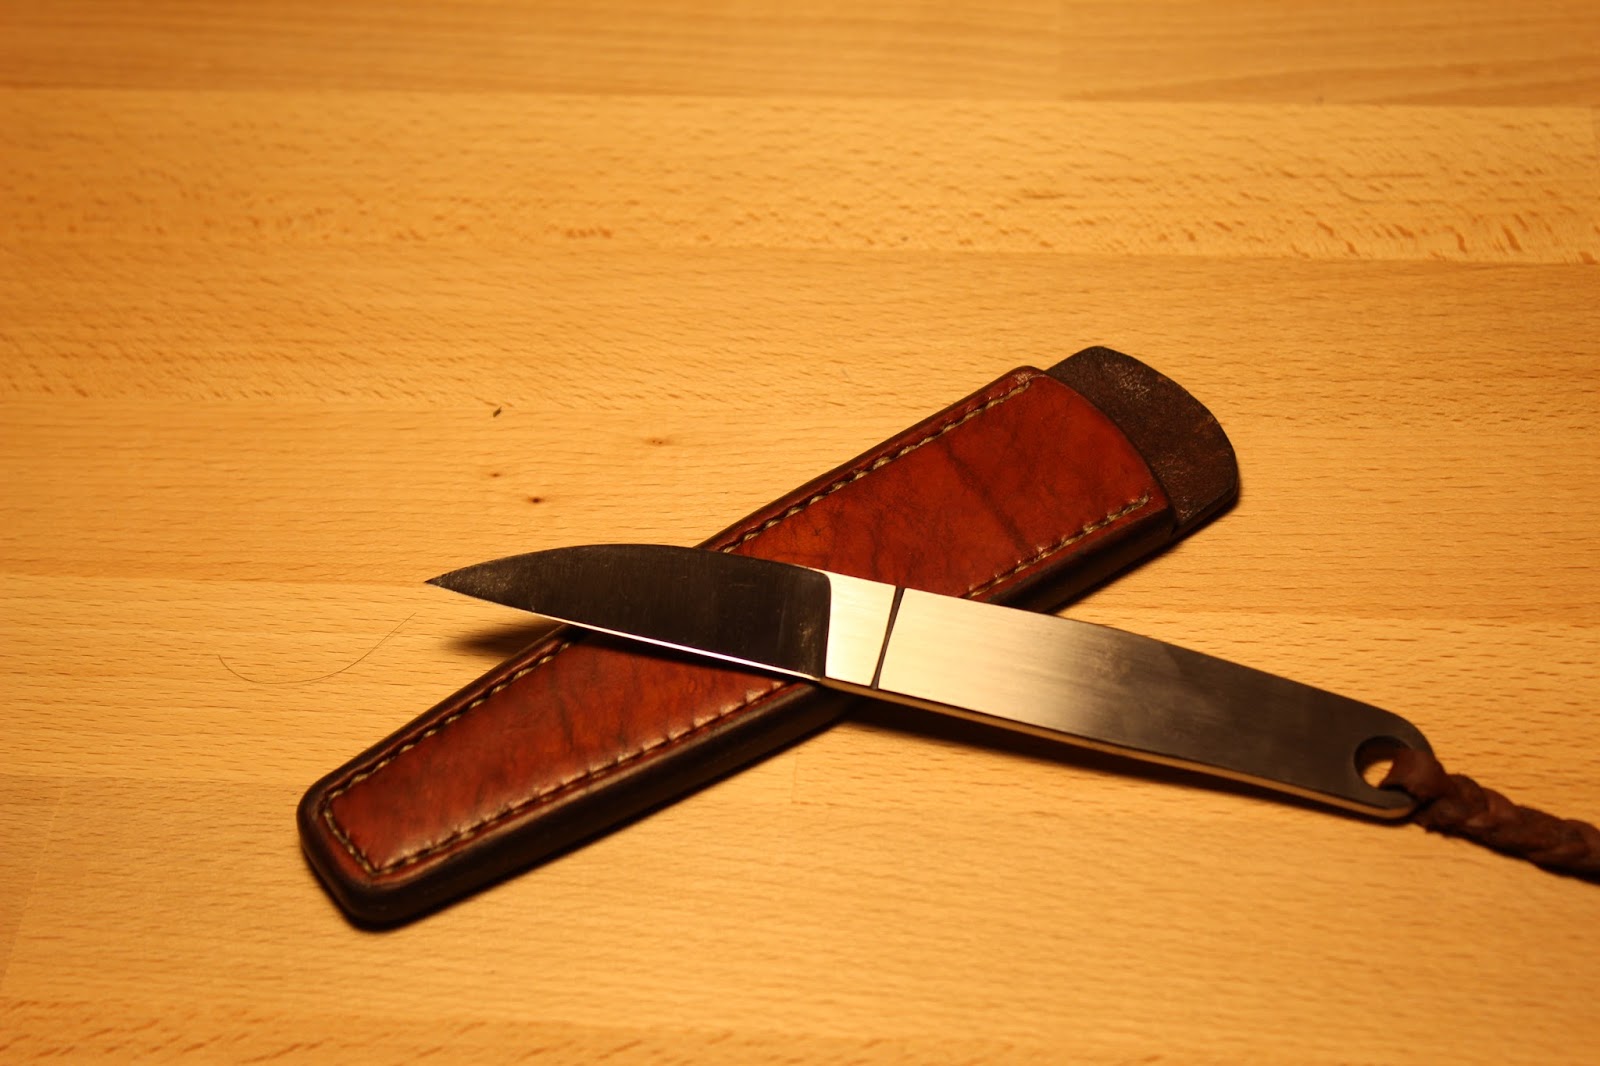
| (probably the thinnest edge that I've put on a knife, no idea how thick it is but the width of the secondary bevel is barely visible) |
All in all I think this project was a success - and it'll serve many years peeling apples and opening letters. Overall, the slight changes to both the knife itself and the sheath are significant improvements over my last city knife in terms of both ergonomics and overall appearance, and I look forward to making more of these , maybe out of AEBL if time permits for a batch of them - hopefully not too far away in the future!


No comments:
Post a Comment