Monday, 17 February 2014

Long overdue axe sheath + knife update

Hi all,

Not much to say here aside from I've finally gotten around to making the sheath for the True Temper axe that I rehung several months ago. I designed the template on CAD, and made it from vegetable tanned leather and waxed it with paraffin for added durability and water resistance,but I almost ended up "cooking" the leather by accident by letting the heat gun sit too long on one spot - this the part near the edge looks kinda lumpy, but not beyond repair I hope. Otherwise I think this project was a success for the most part. The two Chicago bolts on each end of the stitching are for added durability and to keep the sheath from coming undone at those parts. For some reason the rubber cement wouldn't hold near the edges of the welt, if anyone knows how to remedy this please let me know!

Enjoy!


*Updated pics - added an extra row of saddle stitching and another button snap for extra security. 


P.S.

As for the knife that I started last year during the holidays, the materials arrived a while back and the handles are ready for shaping. For this one I'm using olive green canvas micarta with black and brick red liners fastened with West Systems epoxy and corby rivets. Unfortunately that will have to wait for a while since micarta gives off formaldehyde when cut or worked (which I learned the hard way). So I will have to get a better facemask/cartridges and wait for the weather to improve so I can work outside to avoid stinking up my work station / the rest of the house.

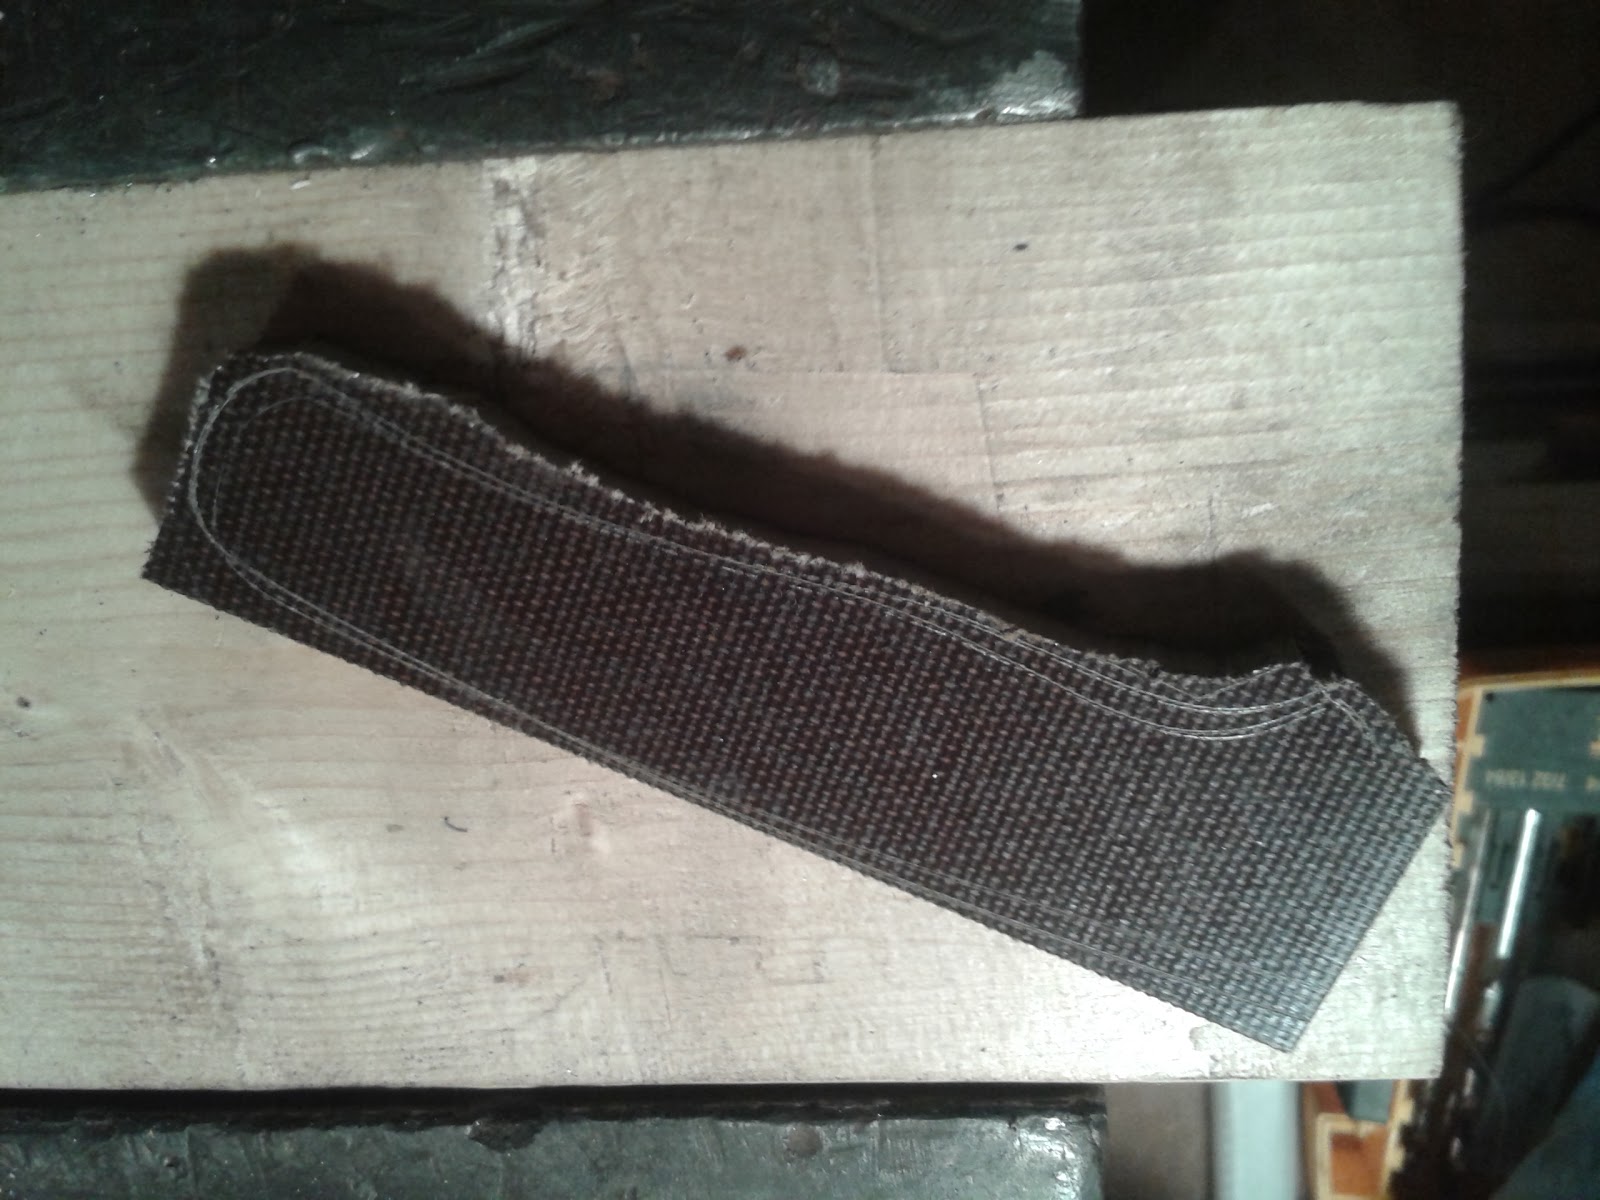


(DON'T DO THIS INDOORS!!)


Thursday, 19 December 2013

Post exam knife making

It's been a while since I've made a post on anything, but that's what grad school does to your hobbies haha. Just spent the past two days working on some small knives. They're made from 1/8" thick x 1" wide O1 tool steel. The leaf blade is a new design that I drew up on CAD and the first one that I've done from a CAD design, and the second one is an old blade that I made two summers ago and just finished up. I heat treated them in my paint can forge and quenched them in warm veggie oil, and tempered them at 350 for 30 minutes,so I suspect the hardness is on the higher side, which would be great for edge retention.They have yet to make the handles, since I will need to clear out the garage so that I could grind micarta outdoors, given that the dust is fairly nasty stuff. Aside from that, I'll let the pictures explain themselves. More to come later. Enjoy!


 (filing in the plunge grind - using 123 blocks as file guides)


ready for hardening! 


Sunday, 4 August 2013

Day hike at Torrance Barrens

Just some some pics from today's hike at Torrance Barrens up around Parry Sound in central Ontario, roughly 2 hours or so from Toronto on the Canadian shield. I found out about the place on a field trip during my second year in university where we went to go look at the 2 billion year old gneiss outcrops and do some stargazing. It was absolutely amazing but I didn't have a camera at the time :(. The weather was great, low 20's, clear skies , and a light breeze to keep the deer flies away...for the most part. Overall it was a pretty good walk, not terribly strenuous, and lots to see in terms of scenery and critters. Ever since I was a kid I've always had a fascination with creepy crawlies, frogs, newts, snakes, lizards, bugs, etc. I finally manage to spot some five-lined skinks in clear view for the first time. They're not terribly common in Ontario and if I recall a species of special concern, so I was having a field day and checking off another reptile from the list!


An adolescent skink- as they age their bright blue tail gradually fade to brown as do their stripes. As you can see this one has a relatively grey tail..


a female protecting her clutch of eggs - oops for intruding
a really big glacial erratic picked up and dropped some time in the last 20,000 to 12,000 years

Monday, 15 July 2013

Axe Refurbishing WIP: Sharpening

Probably wasn't the best idea to sharpen the axe before making the sheath since now I have a 3lb razor lying on a table somewhere, but I was getting impatient and am still waiting on my drill press for putting holes on the leather...the number of speed bumps in the project are too many to count but I shall put something up on that once it's finished...eventually.

I initially try sharpening using a file, followed by sandpaper on a quartz block and Japanese water stones, but that yielded less than satisfactory results since the edge itself was going to be convex and well, it's pretty difficult to make a curved surface consistent on something flat - it was a square peg round hole moment. Plan B, I made up this sharpening jig for getting convex edges and used that in lieu of the quartz block. It's made from a 12" x 12" x 3/8" granite block with a piece of high friction foam mat stuck to it, and some pieces underneath to keep it from slipping on the table. It was surprisingly effective, and has about the same amount of flex as a mouse pad, just bigger and a little thinner. 
My sharpening setup - I use Windex as a cutting fluid to keep dust to a minimum and I wrapped a towel around the upper part of the handle to keep it from getting too grimy - wouldn't want to be going back and refinishing the handle now would I <shifty eyes> 
Convex sharpening pad - the mat is about 1/8" 
From the filed finish I took the edge through 120 grit, 180, 220, 400, 600, and 2000 grit wet dry (had to jump as I ran out of 1000). 
filed finish - I forgot to take pictures of the other grits , but you get the idea 


I then gave the edge a quick buff with some black compound following 2000 grit to blend the scratch pattern given how horrifying it looked before, and it was onto the 8000 grit water stone - I decided to just put a micro bevel on it to strengthen the edge and spare myself from working up from 800 grit to 4000 to 8000 on the primary bevel. I have no idea what the angle is right now but I'm willing to guess somewhere around 40 degrees inclusive..maybe...it seems to be similar to the edge profiles you see on a Gransfors or Wetterlings, so it's so far so good.

8000 grit microbevel - getting shiny! 
After the water stone - I stropped the edge on a newspaper charged with some green chromium oxide compound I had to get a hair shaving sharp edge. I would say that the stropping was overkill - but I would think that many would say I should have just stopped after filing haha.

And now for the final test - I get some sick sense of satisfaction when I sharpen something and can do that to paper < laughs maniacally> . 


Saturday, 6 July 2013

Axe Refurbishing WIP continued: finishing the handle

After putting about 10 coats of tung oil and using a heat gun to speed up the hardening process between layers, I found that it did indeed make for a shiny finish as per instructions on the bottle, but for some odd reason it just didn't look quite right, like it was some sort of cheap off the shelf lacquered handle that you`d get from Rona, and felt like it could slip if it got wet.

So after some experimentation, I found that scuffing between coats with 000 steel wool gave a much nicer matte finish that gave it a warmer look and feel.
before steel wool 


After steel wool. Much better! 

After a final coating of paraffin wax after the oil dried <in reality candle wax, that's all I've got>, I tested the handle for water resistance to see if the water just beaded off or clung to the handle, which would be problematic after long term outdoor use.

Looks like it worked as planned. 


 Now that the handle is pretty much done, aside from maybe drilling a hole at the bottom of the handle for a simple para-cord lanyard of some sort <still debating on that> , all that's left now is to make a sheath and sharpen it. The sheath will be something like the one below that I made for a hatchet head last year, but it will be waxed to improve cut resistance and I will need to burnish the edges for a cleaner look. I may also need to buy some better leather given that the current piece I have is somewhat frumpy on the underside as opposed to nice and smooth, we shall see.

One of my earlier pieces of leather work, still room for much improvement but the design is fairly sturdy.